I fell really far behind in posting last semester, but wanted to catch up on documenting some projects. I wrote before about my experiments with the HTML5 canvas for my Sketching with Code class with Noah Paessel; today, I wanted to talk about my final project for that class a bit.
For the last couple of weeks of the semester, Noah asked that we make a new sketch of our choosing, either improving previous examples, or trying something completely new. I’ve been interested in exploring three.js for a while now, and this seemed like the perfect chance to get my feet wet.
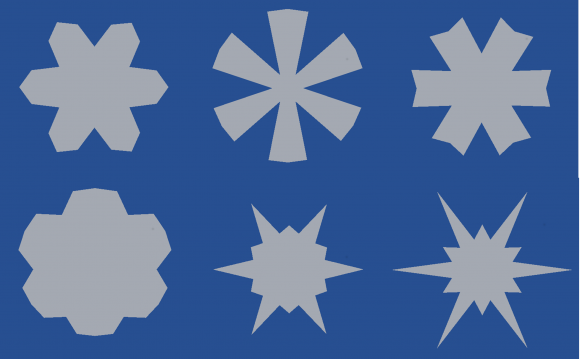
Because the library was completely new and the project was pretty short, I mostly wanted to get as broad a sense of its capabilities as possible in a short period of time. I started out with a simple in-class example of a rotating cube, and began by figuring out how vertices work. To keep things simple, I stayed in two dimensions for the first revision, and wrote an algorithm to randomly generate snowflakes from a flat hexagon.
I drew the hexagon as a series of vertices (points), which then needed to be connected with a series of steps to make a shape (really, there should be arrows from each vertex to the center and then back out again in the second image, but that was a lot of arrows, and I think you probably get the idea).
Every surface in threejs is made of either triangles or squares, so the final hexagon was a series of triangles arranged around the center vertex. For the snowflake, I added a few more vertices in between the hexagon tips, and gave the different sets a random distance from the center. Each time the browser is refreshed, you get a different snowflake. Playing with camera and object rotation, I could also get the snowflake to spin.
That was fun, but I thought that I could probably push things further. To really take advantage of the lighting and camera motion, I wanted a faceted 3d object, rather than a flat cutout. Expanding my vertex-generating loop to three dimensions was more fun than I wanted to have in the last week of the semester, so I decided to try out a different feature of the library instead.
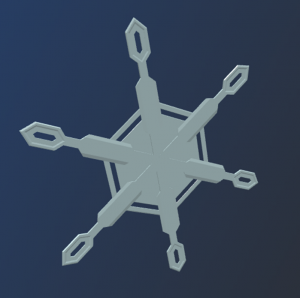
I made an appointment with my husband (who is an engineer), and he very patiently walked me through the process of drawing a 3D faceted snowflake in a CAD program (DesignSpark Mechanical), which we exported as a .obj file. I imported that into threejs, and voila! Three dimensional snowflake.
If I had had more time, I would have played around a bit with the material properties as well; threejs supports a huge array of optical effects for material surfaces. It’s pretty much limited only by your ability to program and your determination, as far as I can tell. That seemed like it might be too deep a rabbit hole for this project, so I stuck with the “shiny” material that the CAD program exports, and made a mental map to learn more about shaders and skins someday.
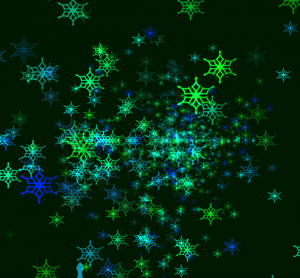
I had read about importing SVG elements into the library, so I also drew a snowflake in Illustrator and exported it as a png. After experimenting a bit with Blender to figure out how particle systems worked (Blender has a similar structure and it was simpler to wrap my head around things with an interface to guide me), I went back to three.js and made a particle system out of svg elements as well.

In the end, I set the three-dimensional snowflake in the center, and created a particle system with the svg elements behind it. Adding in some camera panning and object rotation made for a slightly dizzying but more dynamic product.

You can see the live version here.
This certainly isn’t winning any design awards, but it was a fun introduction to some of the major modes of working in threejs, and encouraged me to get my feet wet with Blender and other three dimensional drawing software. You never know when things might be useful in the future, and just knowing what the software can do increases my toolbox for future projects.
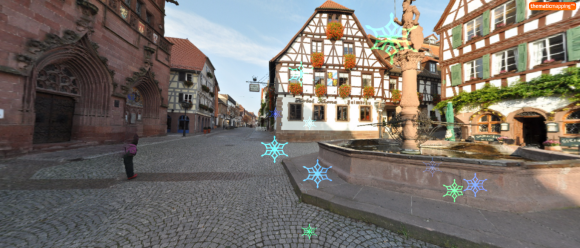
Because I was having so much fun, I had to keep going just a little further, too. In poking around online, I discovered someone who had created a 3d panorama viewer in threejs. Basically, it works by creating a sphere, putting the camera in the middle of the it, and then projecting a panoramic photo onto the inside of the sphere, so that you can rotate in space and see the whole panoramic wrapped around you. Mixing and matching a bit, I managed to create some very unusual snow in a panoramic that Branden took while we were living in Bretten, Germany.
I haven’t experimented further with this yet, but opens up some intriguing possibilities for combining data visualization with three dimensional photography – imagine taking a “data tour” of a virtual world. something interesting to play with in future, perhaps.


